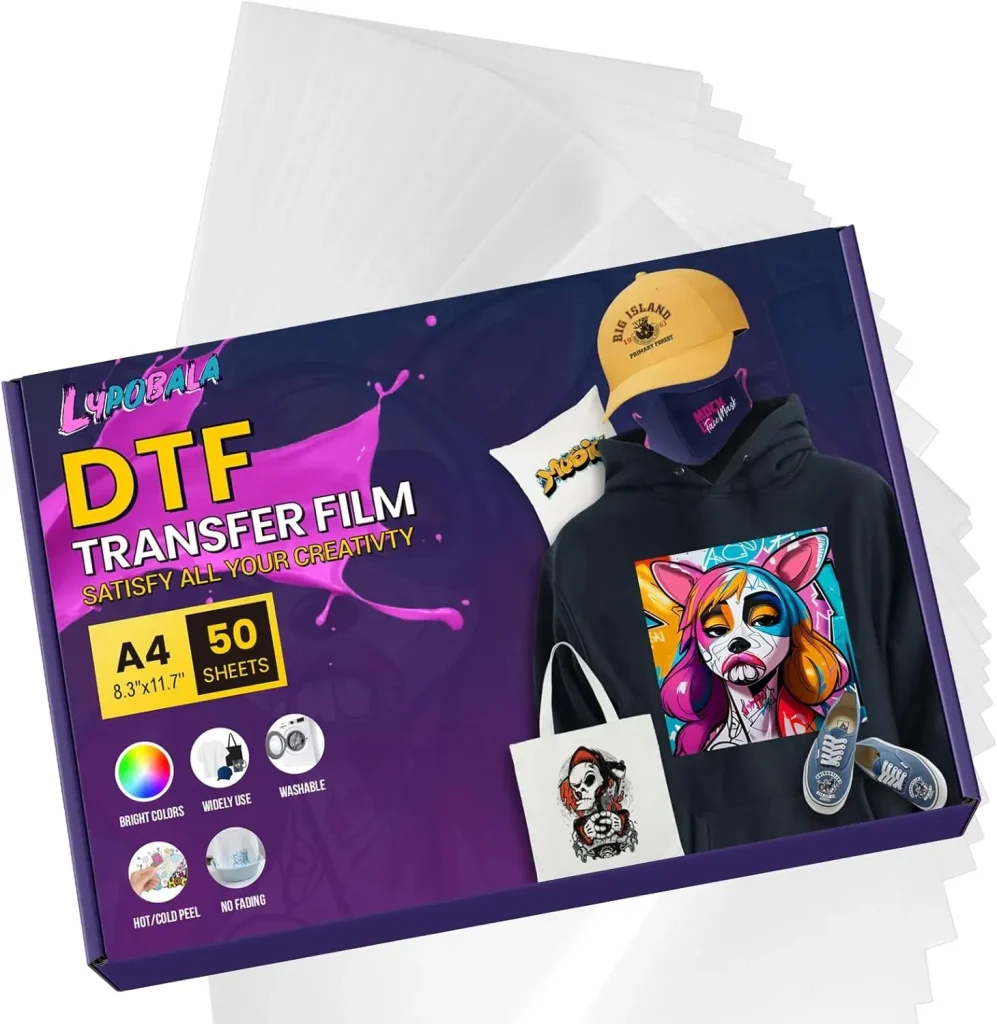
DTF transfer film has surged as a popular choice for customizing apparel, delivering vibrant, durable prints with a streamlined workflow. Whether you’re printing on cotton, polyester blends, or colorfast fabrics, DTF printing opens broad textile versatility. In practice, it starts with printing onto the film, then applying an adhesive powder, curing, and heat pressing—the core steps of how DTF transfer works. Its ability to produce rich color on dark fabrics and its soft hand feel highlight the DTF film advantages. For newcomers, a reliable DTF transfer tutorial can help optimize curing and pressing, while comparing DTF vs DTG clarifies where this method shines.
From a broader perspective, this is a direct-to-film technology that uses printable, adhesive-coated sheets to transfer images onto textiles. You may also hear it described as a film-based transfer method or a digital-to-fabric approach, both pointing to the same core concept. LSI-friendly topics to explore alongside include film substrates, curing powders, color profiles, and the role of heat and pressure in durable finishes. Understanding these related terms can help readers connect to content about DTF printing, transfer systems, and related techniques.
1) Understanding DTF Printing: What DTF transfer film Is and How It Fits In
DTF printing is a digital-to-film workflow that prints designs onto a transparent or white polyester film using pigment inks designed for film substrates. The resulting image is held in place by an adhesive powder that is later cured and transferred to fabric with heat. The DTF transfer film serves as the carrier medium between the artwork and the garment, enabling vibrant, full-color results on a wide range of materials. This approach sits between direct-to-film printing and the broader world of garment decoration, offering flexibility for small runs and intricate designs. For SEO relevance, terms like DTF printing and how DTF transfer works come into play as you explore the full process.
In practice, the DTF transfer film enables color-rich images to be applied to cotton, polyester blends, and colorfast fabrics without requiring a dedicated white underbase on every fabric type. This is part of what makes DTF transfer film attractive to hobbyists and professionals alike: strong color density, versatility across fabrics, and a relatively straightforward workflow. When evaluating film options, consider how DTF film advantages such as opacity, handling, and curing compatibility align with your project goals and production setup.
2) How DTF Transfer Works: The Core Steps From Design to Fabric
How DTF transfer works starts with a designed image that is printed onto a PET or similar film substrate using pigment inks designed for film. After printing, a layer of adhesive powder is applied and then cured. This powder becomes the adhesive that bonds the ink to the fabric when heated, creating a durable transfer. Understanding these steps—the printing, powdering, curing, and heat pressing—helps explain why many operators favor this method for its color fidelity and substrate versatility.
Once the transfer is warmed on a heat press, the adhesive melts and bonds with the fabric fibers, while the film backing is peeled away. The result is a vibrant, soft-hand print on cotton, blends, or dark fabrics. Proper alignment, correct temperature, pressure, and timing are essential to avoid issues like edge curling or ghosting, making the workflow a balance of precision and patience.
3) DTF Film Advantages for a Variety of Fabrics
DTF film advantages include high color density, a soft hand feel, and compatibility with a broad range of fabrics—from cotton to polyester blends and performance fabrics. The film-based approach often simplifies inventory because designs can be stored as transfers rather than mounted prints on each garment. This flexibility is particularly valuable for small batches or designs with complex color palettes, where traditional screen printing may be less efficient.
That said, the quality of the transfer depends on proper curing, film thickness, and adhesive formulation. Moisture sensitivity and heat exposure after application can affect durability, so selecting a reliable DTF film and following curing guidelines is essential for longevity. In practice, you’ll want to weigh a film’s opacity, stiffness, and wash resistance to ensure your designs remain vibrant after multiple cycles.
4) Choosing the Right DTF Film and Curing Practices
When choosing DTF film, consider film thickness (typical ranges around 120 to 180 microns) and consistency, as a stable film helps ensure even ink laydown and reliable adhesion. Adhesive quality matters as well: you want a bond that remains soft to the touch yet strong after washing. Also verify print compatibility with your printer, inks, and the chosen film so that color fidelity is preserved from screen to garment.
Equally important are curing requirements and process parameters. Proper curing helps prevent powder residue and transfer defects while ensuring the ink and adhesive bond correctly to the fabric. If you’re working with dark fabrics, plan for the right opacity and underbase strategy inherent to the film and ink system. Adhering to manufacturer-recommended temperatures, times, and peeling methods will improve consistency and reduce rework.
5) DTF Transfer Tutorial: A Quick-Start Guide to Successful Applications
DTF Transfer Tutorial focuses on practical, repeatable steps: prepare your design with the correct resolution and color profile, print on the DTF film with compatible inks, apply an even layer of adhesive powder, cure as directed, and align the transfer on the garment before pressing. Following a structured workflow helps minimize misregisters and inconsistencies, which is essential for achieving consistent color and edge detail.
After pressing, remove the transfer backing as directed—hot or cold peel—and allow the garment to cool before handling. Post-press care is also part of the tutorial: wash guidance, garment turning inside out, and avoiding high heat during drying help preserve color vibrancy and edge integrity through repeated wear and washing.
6) DTF vs DTG: Choosing the Right Method for Your Project
DTF vs DTG comparisons often focus on fabric range, setup costs, and run size. DTF printing tends to excel on a broader set of fabrics, including blends and dark garments, with reliable color reproduction and a straightforward workflow for small to mid-sized runs. When used properly, DTF can reduce the need for a separate white underbase step that is sometimes required in DTG for dark fabrics.
DTG, by contrast, prints directly onto the garment and may offer a softer finish on light fabrics but can require more upfront investment for white ink and pretreatment. For designs with high color complexity or on mixed materials, DTF transfer tutorial-style planning and knowledge of DTF printing can inform a more cost-effective, scalable approach. Ultimately, choosing between DTF and DTG depends on fabric types, production volume, and desired finish.
Frequently Asked Questions
What is DTF transfer film and how does the DTF transfer work?
DTF transfer film is a polyester-based sheet used in direct-to-film printing. In a typical workflow, the image is printed on the film with pigment inks, a bonding powder is applied and cured, and the design is heat-pressed onto fabric to create a vibrant transfer. This process—DTF printing, powdering, curing, and heat pressing—offers versatility across cotton, blends, and dark fabrics without extensive underbase work.
What are the key DTF film advantages, and how does DTF compare to DTG?
DTF film advantages include strong color density, a soft hand feel, and broad fabric compatibility, especially on dark garments. It often provides a simpler workflow for small runs and can reduce the need for a white underbase on certain fabrics. When comparing with DTG, DTF can be more cost-effective for short runs and offers easier scalability across different fabrics.
Can I print photos with DTF transfer film using DTF printing?
Yes. DTF printing with transfer film supports high-resolution, photo-like images and a wide color gamut. It works well on a variety of fabrics, including cotton and blends, delivering durable transfers after proper curing and heat pressing.
Is there a DTF transfer tutorial for beginners?
Yes, a DTF transfer tutorial for beginners typically covers design setup, printing on DTF film, powder application and curing, alignment on fabric, heat-press parameters, and peeling guidance. Following the manufacturer’s recommendations for temperature, time, and pressure helps ensure repeatable, high-quality results.
How do I choose the right DTF film for different fabrics and projects?
Choose a DTF film based on thickness, adhesive quality, and compatibility with your printer and inks. Look for 120–180 micron film with reliable adhesive for strong bonds across cotton and polyester blends, and verify curing requirements and color-compatibility to maximize the film advantages.
What care and durability should I expect from DTF transfers on dark fabrics, and how does this compare to DTG?
With proper curing and a correct heat-press protocol, DTF transfers on dark fabrics can endure multiple washes while maintaining color and edge integrity. Care by turning garments inside out and washing on gentle cycles helps preserve the print. In terms of durability, outcomes can vary with the film and ink system, and some users compare DTF durability to DTG depending on setup and film quality.
| Topic | Key Points |
|---|---|
| What is DTF transfer film? | – Thin polyester-based sheet used for direct-to-film printing. – Image printed on film, then bonding powder is applied, cured, and pressed onto fabric. – Results in vibrant, full-color transfers that adhere to cotton, polyester, blends, and even dark fabrics. – DTF = direct-to-film. |
| How does DTF transfer work? | – Design and print with pigment inks designed for film substrates. – A PET (or similar) film stock holds the ink; adhesive powder is applied and cured. – The transfer is aligned on the garment and heat-pressed; the adhesive melts and bonds; backing film is peeled away. – The process (printing, powdering, curing, heat pressing) yields a durable, soft-feel image. |
| DTF film vs. other methods: key differentiators | – Works well on dark fabrics without requiring a separate white underbase in many cases. – High color density and broad fabric compatibility. – Often more cost-effective and scalable for short runs with simpler inventory. – Requires careful curing and precise heat-press parameters to avoid edge curling or cracking. |
| Advantages and limitations | – Advantages: vibrant color, soft hand feel, broad fabric compatibility, straightforward workflow for short runs. – Limitations: moisture/heat sensitivity, need for precise curing, film quality and adhesive formulation impact durability, potential powder residue if not cured properly. |
| Choosing the right DTF film | – Film thickness: commonly ~120–180 microns; stable, uniform thickness improves ink laydown and transfer. – Adhesive quality: strong bond across fabrics with a soft hand; avoid excessive stiffness. – Print compatibility: ensure printer/inks match film (pigment inks with suitable carrier). – Curing requirements: follow recommended temperatures/times to minimize powder residue and defects. – White underbase handling: some films provide opacity; plan underbase as needed for dark fabrics. |
| Preparing to apply DTF transfers | – Align garment flat and taut; clean surface to remove dust/oils. – Test on dark fabrics for color density and opacity. – Schedule printing, powdering, curing, and pressing with consistent temps and timing. |
| Applying DTF transfer film: best practices | – Print quality: use high-res settings and calibrated color profiles. – Powder application: apply a light, even layer; avoid excess powder. – Curing: cure thoroughly per guidelines to prevent powder rub-off. – Alignment: use marks or precise methods for accurate placement. – Pressing: typical temps around 305–320°F (150–160°C), 12–20 seconds, even pressure. – Peel method: follow film’s guidance (hot or cold peel). – Post-press care: cool completely before handling; wash gentle, inside-out. |
| Care and longevity of DTF transfers | – Wash inside-out in cold or warm water; avoid high-heat dryers. – Prolonged sun exposure and aggressive scrubbing can fade or degrade transfers; use reliable film and proper curing. |
| Common issues and troubleshooting | – Cracking/peeling edges: ensure even curing and consistent pressing pressure. – White residues or powder flakes: avoid over-application; cure fully; remove excess powder gently before pressing. – Fading colors post-wash: verify ink-film compatibility; consider higher-quality ink/film pairing. – Surface texture: check curing and pressing time; adjust to reduce texture while preserving adhesion. |
| DTF transfer tutorial: quick-start checklist | – Prepare the design with correct color profile and resolution. – Print on DTF film using compatible inks; calibrate printer. – Apply adhesive powder evenly; cure as recommended. – Align transfer on fabric and press with proper temperature, time, and pressure. – Remove backing (hot or cold peel as directed) and let cool. – Wash and care per fabric type and film guidance. |