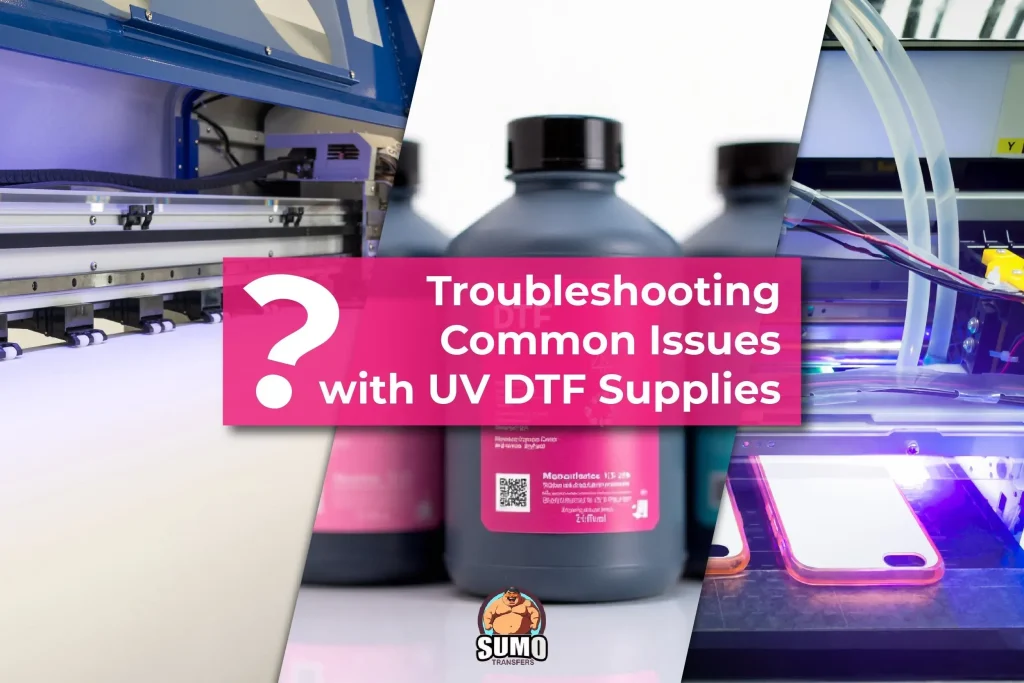
UV DTF transfer troubleshooting is essential for achieving vibrant, durable graphics on fabric through a reliable, repeatable process. This guide explores UV DTF transfer issues and fixes, offering practical DTF printing troubleshooting steps to minimize waste and maximize yield. Understanding DTF ink adhesion problems, color management, and UV DTF heat press settings helps you diagnose root causes rather than applying quick patches. Common UV DTF transfer issues, from ghosting to edge bleeding, often trace back to substrate compatibility, surface prep, or inconsistent adhesive coverage, and demand targeted DTF transfer fixes. With a structured troubleshooting approach, you can deliver consistent finishes across fabrics and designs while reducing downtime.
In broader terms, this topic translates into troubleshooting UV-curable ink transfers and examining how factors such as substrate type, ink chemistry, and press settings interact. Alternative terminology for the same idea includes UV transfer challenges, DTF printing troubleshooting workflows, and transfer optimization strategies. LSI principles pair core concepts with related topics like process optimization, quality control, and repeatable parameter tuning to improve search relevance and user understanding. Whether you call it DTF transfer optimization, UV-curable garment embellishment issues, or heat-press consistency checks, the aim remains durable color, strong adhesion, and reliable finishes across fabrics.
Understanding UV DTF transfer issues and their root causes
UV DTF transfer issues can arise from substrate incompatibility, inadequate surface preparation, or an inconsistent adhesive layer. When any of these factors fail to align with the ink chemistry and the transfer film, ink adhesion problems become visible as flakes, peels, or uneven bonding after washing. Recognizing these early signs helps diagnose the underlying cause and guides targeted DTF transfer fixes rather than applying quick, temporary patches.
Beyond adhesion, color management gaps and curing errors can lead to color mismatch or fading, making designs appear dull compared to the original. A practical understanding of UV DTF transfer issues requires looking at fabric type, ink formulation, transfer film, adhesive, and heat-press dynamics. This is a core part of UV DTF transfer troubleshooting, ensuring you address root causes rather than chasing symptoms.
DTF printing troubleshooting: a systematic workflow for reliable UV DTF transfer troubleshooting
Adopting a baseline protocol is essential. Start with a similar substrate, confirm surface cleanliness, and calibrate the printer with ICC profiles and nozzle health checks. Running a known-good test pattern allows you to compare colors and detect drift early, which is a fundamental step in DTF printing troubleshooting and helps prevent recurring UV DTF transfer issues.
Document every result and establish a repeatable SOP for future projects. Recording substrate type, ink density, pre-treatment (if any), adhesive batch, film, and press settings creates a living guide for troubleshooting and speeding up DTF transfer fixes when the same problems reappear.
UV DTF heat press settings: optimizing temperature, time, and pressure
The heater, dwell time, and pressure must match the adhesive and fabric. Manufacturer guidance is a starting point, but small adjustments—typically in a 5–10 degree range or a few seconds of dwell time—can dramatically improve adhesion, edge sharpness, and finish. This focus on UV DTF heat press settings is central to achieving consistent results across batches and is a key area for DTF transfer fixes.
Create a structured test matrix that varies temperature, time, and pressure for a representative sample of fabrics. Record the outcomes, then refine the settings for your most common garments. A disciplined approach to heat pressing helps minimize ghosting, scorching, or uneven transfer contact, aligning with best practices in UV DTF transfer troubleshooting.
Color management and color accuracy in UV DTF transfers
Color accuracy relies on robust color management. Miscalibrated printer profiles, incorrect ICC profiles, and gaps in prepress proofing can cause color mismatches or dull tones. Addressing UV DTF transfer issues through careful color management reduces drift between digital designs and the final fabric print, a central aim of DTF printing troubleshooting.
Practical steps include using standardized test patterns, calibrating with reference swatches, and verifying how the ink interacts with the selected fabric and adhesive. This reduces color fade and ensures how the transfer communicates color under different lighting, tying back to UV DTF transfer issues and the broader goal of consistent print fidelity.
DTF ink adhesion problems: improving substrate prep, adhesion, and pre-treatment
DTF ink adhesion problems are often rooted in surface cleanliness, substrate compatibility, or insufficient adhesion layer. Ensuring the textile surface is clean and dry before transfer minimizes moisture-related issues and supports stronger bonding between the ink, adhesive, and fabric. A robust surface-prep routine is a foundational DTF transfer fix for adhesion-related failures.
Moisture control, proper primer or pre-treatment, and consistent adhesive coverage are critical. When adhesion is inconsistent, review fabric characteristics, primer selection, and film handling during transfer. By tightening these steps, you address the core drivers of ink adhesion problems rather than applying superficial patches.
Durability and post-press care for UV DTF transfers: curing, cooling, and wash testing
Durability hinges on complete curing and controlled cooling. Allow the adhesive to cure fully per its specification, and provide adequate ventilation to avoid trapped moisture that can weaken the bond. Gentle, measured cooling helps preserve color vibrancy and adhesion strength, making curing and cooling essential components of DTF transfer fixes.
A practical wash test on sample garments assesses edge integrity, color retention, and overall longevity. Documenting results from wash cycles informs ongoing UV DTF transfer troubleshooting and supports the creation of standard operating procedures (SOPs) for durable transfers. Providing customers with proper care instructions further preserves transfer quality over time.
Frequently Asked Questions
What are common UV DTF transfer issues that cause ink adhesion problems, and how can UV DTF transfer troubleshooting help?
Ink adhesion problems during UV DTF transfers are often due to substrate incompatibility, poor surface prep, or moisture. In UV DTF transfer troubleshooting, start with testing a similar fabric, ensure the surface is clean and dry, verify adhesive coverage, cure properly, and use a compatible ink/substrate to improve adhesion.
How can UV DTF transfer troubleshooting address color mismatch during DTF printing troubleshooting?
Color mismatch typically stems from weak color management, miscalibrated printer profiles, or incorrect curing. In UV DTF transfer troubleshooting, calibrate the printer, verify ICC profiles, print a color reference patch, and align print settings to the substrate to restore color accuracy.
What causes ghosting in UV DTF transfer, and what DTF transfer fixes should I try?
Ghosting is usually caused by misalignment, film tension, or inconsistent transfer contact. For DTF transfer fixes, re-check alignment marks, ensure the transfer film sits flat on the garment, clean the platen, and maintain consistent pressure and contact during pressing.
Which UV DTF heat press settings minimize scorching and ensure durable transfers during UV DTF transfer troubleshooting?
Follow the adhesive manufacturer’s guidance for temperature, time, and pressure. In UV DTF transfer troubleshooting, start with the recommended values, then adjust in small steps (5–10 degrees or a few seconds), and ensure even heat across the platen to avoid scorching and improve durability.
Why does peeling or cracking occur after washing, and how can UV DTF transfer troubleshooting address curing and adhesion issues?
Peeling or cracking often indicates incomplete curing, weak adhesion, or moisture exposure. In UV DTF transfer troubleshooting, cure per the adhesive spec, allow proper cooldown, test on similar fabrics, and review surface prep and post-press handling to strengthen adhesion.
What is a practical step-by-step approach for UV DTF transfer troubleshooting to build reliable DTF transfer fixes?
Use a simple, repeatable process: baseline test on a similar substrate; inspect substrate and surface prep; review color management; examine transfer film and adhesive; confirm heat press settings; conduct a wash/durability test; and document results to develop standardized DTF transfer fixes.
| Aspect | Key Points | Tips / Fixes |
|---|---|---|
| UV DTF transfer basics | UV DTF transfer combines UV-curable inks, a heat-activated adhesive, and a transfer film to bond graphics to fabrics through heat and pressure. Multiple variables (fabric type, ink formulation, film, adhesive, heat-press) affect results. | Use this foundation to guide troubleshooting; expect variability and adopt a methodical approach to identify root causes. |
| Why troubleshooting matters | A structured approach helps identify root causes, reduces waste, saves time, and improves print quality. It addresses common issues like adhesion, color accuracy, and ghosting across garments. | Adopt a repeatable troubleshooting workflow and document findings to improve consistency over time. |
| Ink adhesion problems | Symptoms: flakes, peels, or uneven adhesion after washing. Likely causes include substrate incompatibility, insufficient surface prep, inconsistent adhesive layer, or moisture on the textile. | Ensure substrate compatibility, proper surface prep, and a consistent adhesive layer; dry textiles and test on similar fabrics. |
| Color mismatch or fading | Colors appear dull or do not match the original design. Underlying issues include color management gaps, miscalibrated printer profiles, or incorrect curing. | Calibrate printer, verify ICC profiles, ensure proper curing, and translate colors accurately from screen to textile. |
| Ghosting or double image | A faint secondary image appears beside the main graphic. Usually caused by platen or alignment problems or inconsistent transfer film contact. | Check alignment, film tension, and platen cleanliness. |
| Peeling or cracking after washing | Durability issues usually indicate suboptimal adhesion or insufficient curing. Moisture or detergents can weaken the bond over time. | Address adhesion and curing at the source; test laundering conditions and adjust process accordingly. |
| Bleed, bleeding, or edge softness | Edges aren’t crisp due to ink bleed on the fabric, inadequate curing, or poor pre-treatment. | Re-check print resolution, ink density, and pre-press steps. |
| Thermal damage or scorching | Excessive heat or prolonged dwell times can cause scorching or puckering on delicate fabrics. | Adjust UV DTF heat press settings and run controlled tests. |
| Uneven finish or texture | Rough or uneven surface can result from uneven pressure, misaligned platen, or inconsistent transfer film contact. | Fine-tune pressure calibration and ensure uniform transfer contact. |
| Confirm substrate compatibility and surface prep | Start with fabric type, color, and fiber content. For adhesion-resisting garments, test a patch on a similar fabric. Ensure surface is clean and dry; avoid moisture before pressing. | Test patch on similar fabric; ensure surface cleanliness and dryness. |
| Optimize printer and color management | Calibrate printer, check nozzle health, and verify ICC profiles. Use a known-good test pattern to compare colors against a reference. | Align print settings with substrate and ink system; use reference checks to minimize color drift. |
| Refine transfer film and adhesive protocol | Use a transfer film with consistent release characteristics and verify adhesive coverage on the printed design. | Standardize film handling and test different films/adhesives; ensure even adhesive coverage. |
| Adjust heat press parameters and dwell time | Every fabric and adhesive has a recommended temperature, time, and pressure. Start with manufacturer guidance and run controlled tests. | Make small parameter changes (5–10 degrees or a few seconds) and retest. |
| Ensure proper curing and cooling | After transferring, cure fully per adhesive specifications. Avoid rapid cooling and ensure adequate ventilation. | Incorporate a brief cool-down and verify curing per adhesive spec. |
| Improve alignment and press contact | Ghosting/misalignment relates to alignment marks, film tension, and platen cleanliness. | Re-check alignment marks, use consistent pressure, and ensure the film sits flat against the garment. |
| Test and document | Create a simple test protocol and track fabric type, ink density, pre-treatment (if any), adhesive batch, film, and press settings. | Document results to speed troubleshooting on future projects and improve batch consistency. |
| Step-by-step troubleshooting guide | If issues arise, follow a baseline test, surface prep, color mgmt review, film/adhesive inspection, heat press verification, wash test, and documentation. | Execute the seven-step process and build a repeatable SOP for UV DTF transfers. |
| Common-sense tips to improve outcomes | Use high-quality materials, maintain equipment, keep records, make iterative adjustments, and communicate care guidelines to customers. | Maintain quality through disciplined material choices and process discipline. |